Walk-in Closet Rebuild
So, as will happen, the wife’s walk-in closet got so damn full that it pulled one of the original racks off the wall. Being the positive bloke that I am, I thought to myself, “Good chance to rebuild it so she can buy even more clothes she’ll never wear!”
Now, never being one to take many pictures, I only got a couple of rather crappy shots of the process. Found a couple more pics on my iPhone, so I’m updating this post.
First, take a look at what it looked like with the original metal racks (most of the clothes having been removed.)
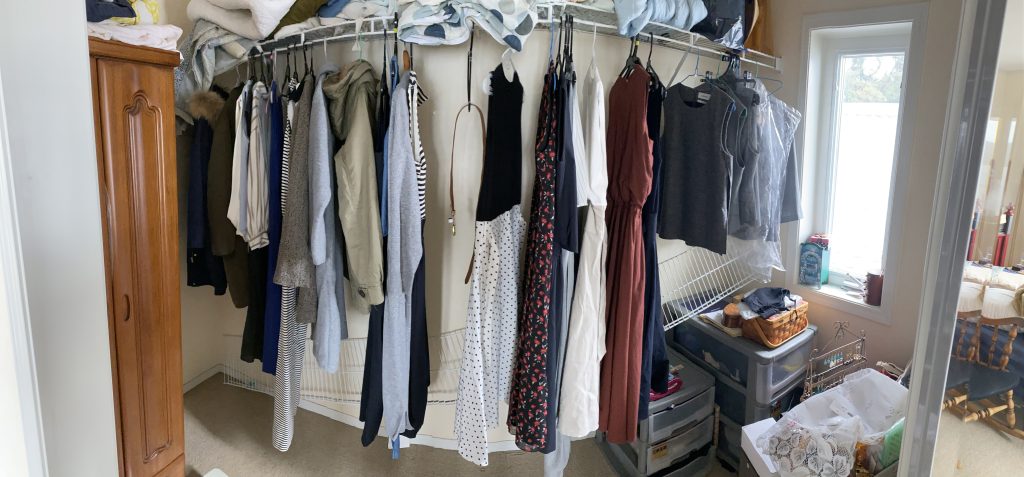
What I wanted was something more easily organized than just a row of hanging clothes, so I designed a 3-area closet space with double bars that would fit her short stuff. Needed space for storing sheets and shoes and what-not as well. It also had to be height appropriate as she isn’t the tallest cookie in the jar.
I started by building the supports for the floor. I cut the carpet out so they would be sitting directly on the floor boards then built the decking and added the dividing walls.
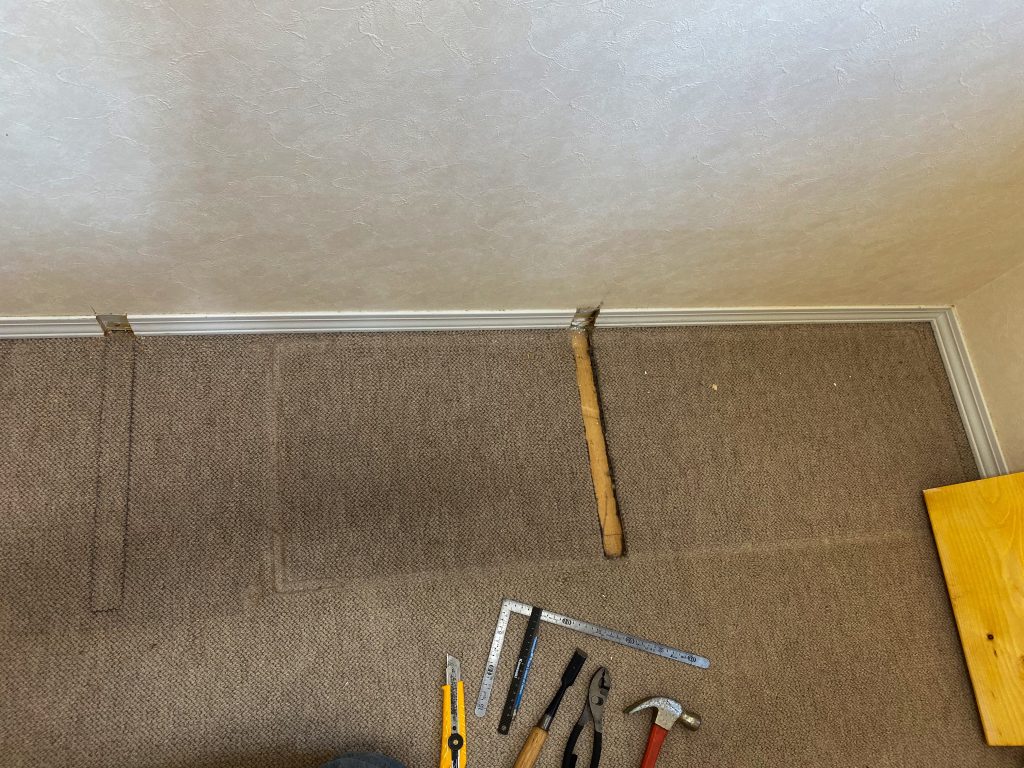
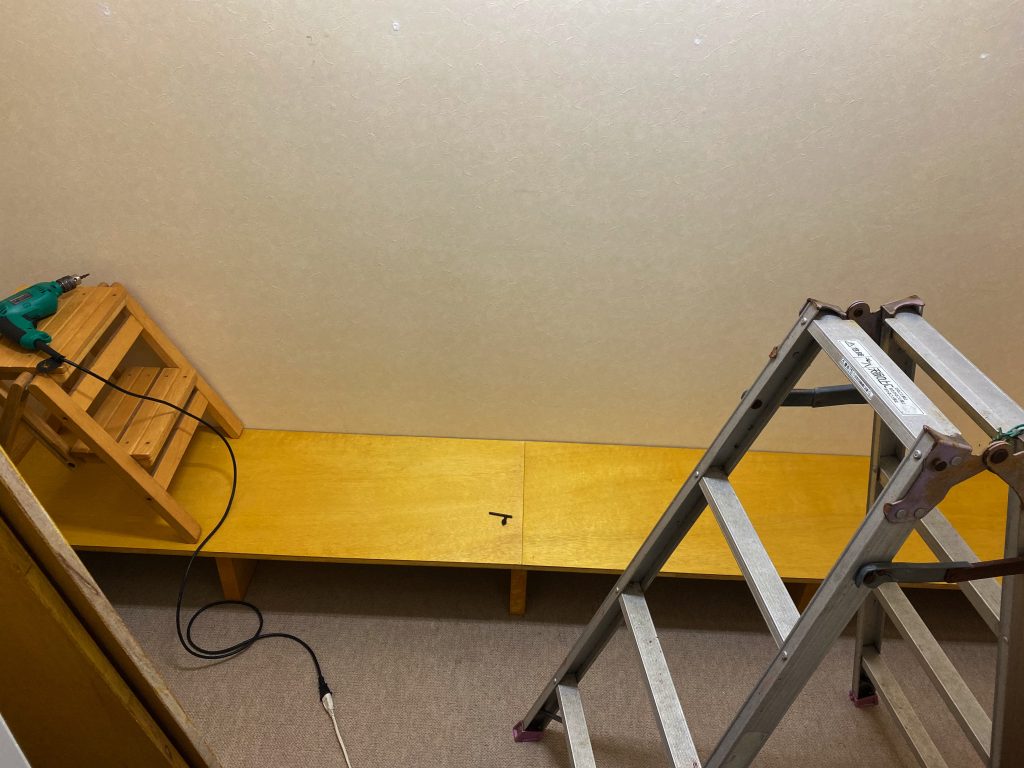
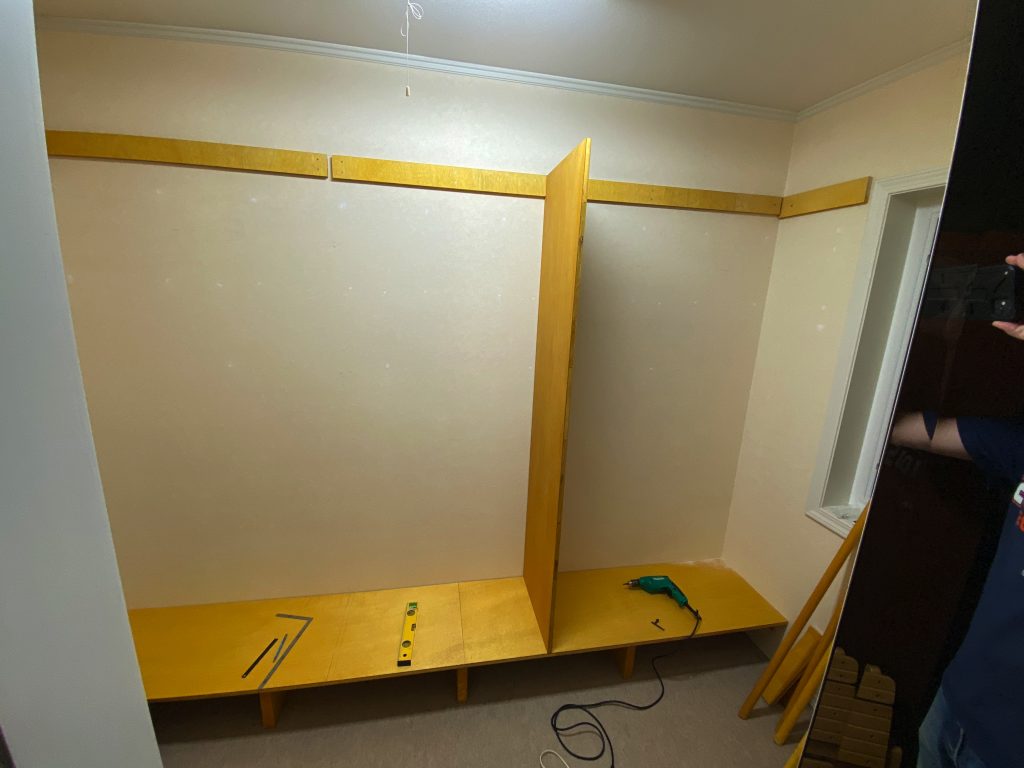
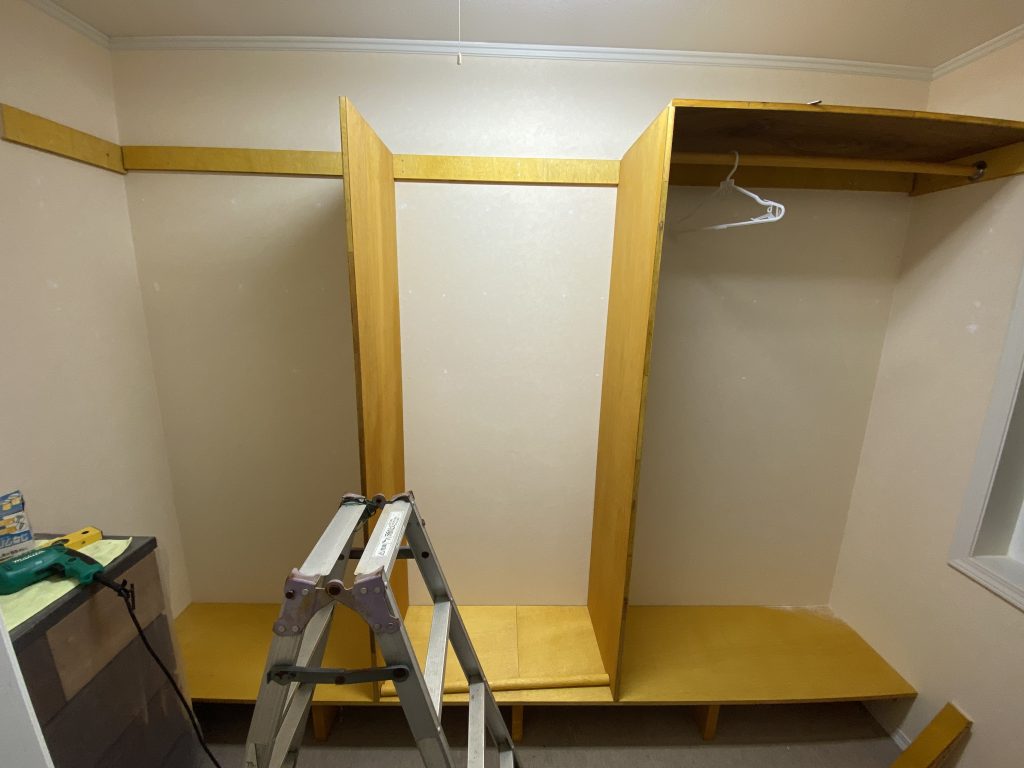
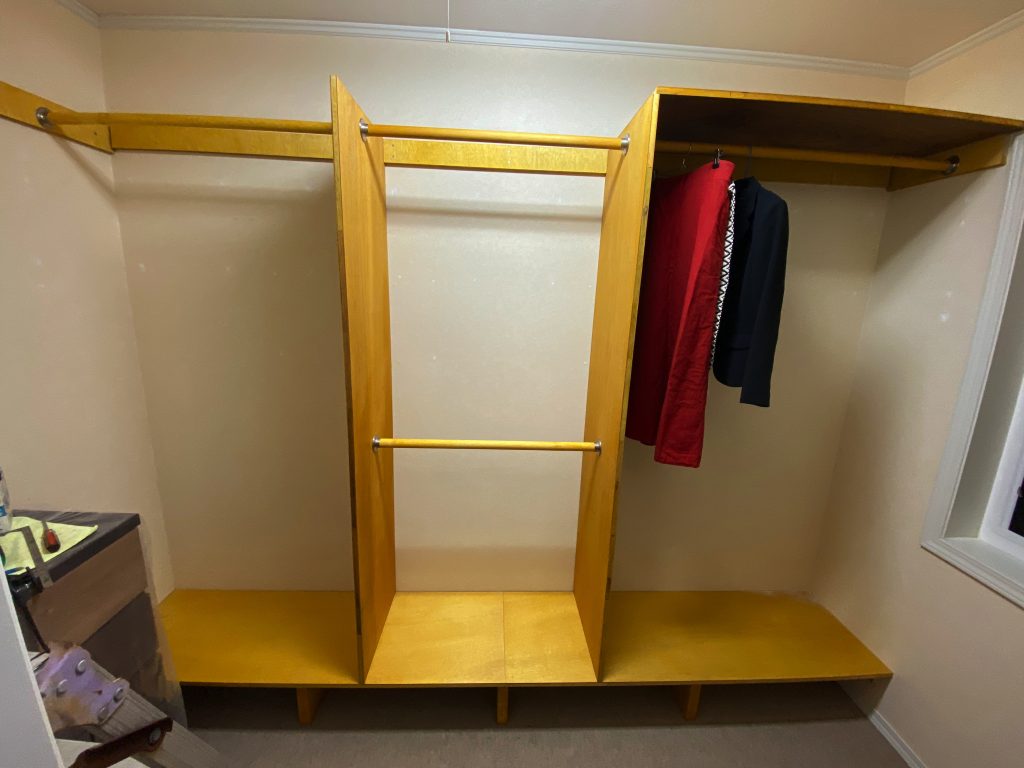
Added a little dresser for her sundries and what-not and a hat / bag rack on the inside of the door using parts from the old metal shelving. (Not visible in the pics)
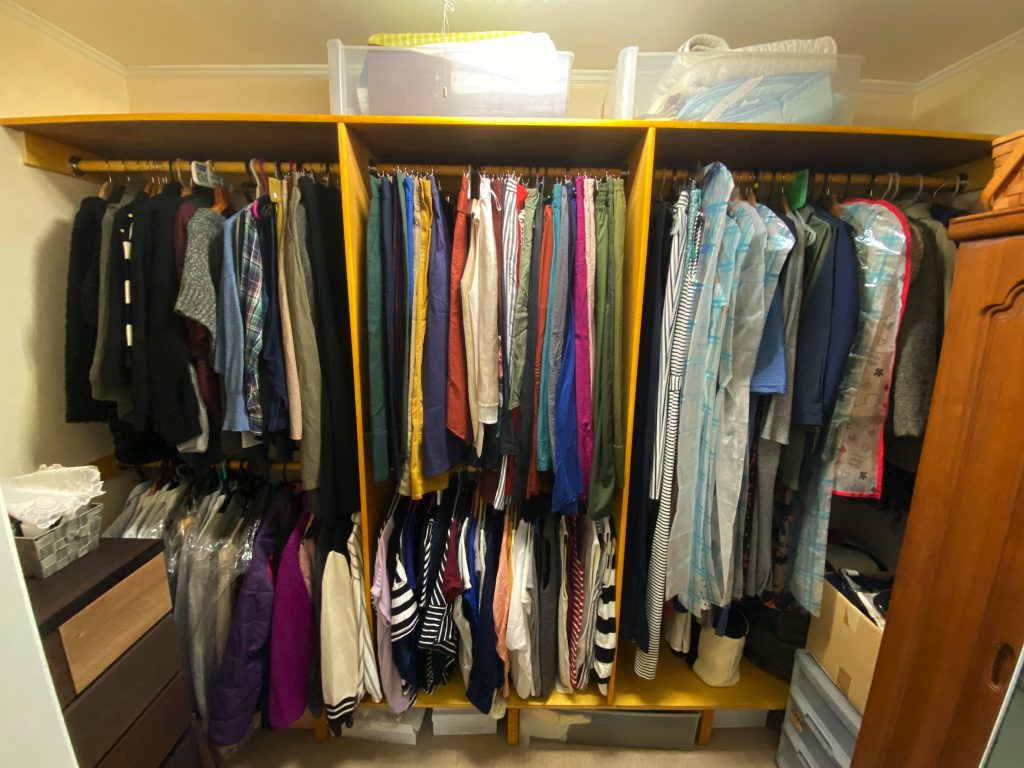
This is what it looked like after putting all her clothes back in (and a few extras).
I was happy with the design because of the way it distributes the weight of the clothes throughout the structure rather than just on the back wall as the original one had. I’d redo the lighting as well but since the build was completed, the closet has basically been filled to bursting.
First time I’ve done a closet, but this gave me ideas for rebuilding the towel closet downstairs as well. And, even though it has been a couple years already, I see no signs of the main supports pulling away from the walls or suffering any undo stress. Mission accomplished!


