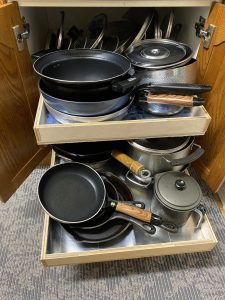
Slide Out Kitchen Shelves
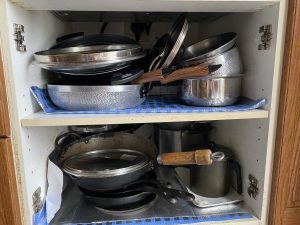
Had some time the other day and decided to do a quick and easy DIY that I’ve been wanting to do for quite a while. Having all our pans stored under the the stove, it has always been a pain in the ass to dig the rarely used ones out of the back of the cupboard. I figure we were probably only really using about half of the entire space available. By installing slide rails on the shelves, we are now able to make use of almost the entire cabinet.
Here are the simple steps that I took:
- Measure how much your hinges stick out on the inside of the cupboard. This is the amount of space your sliding shelves will have to clear. There’s also the possibility that your cupboard doors won’t open all the way, so make sure you take any clearance issues into account when you finalize your shelf width.
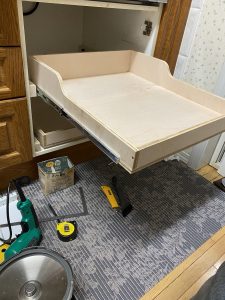
- Average slide rails take up 12.7mm (1/2 inch) so use a spacer that adds up to the total clearance you’ll need with maybe a mm or two to spare. You can shim the spacers with washers if you find that you need a bit more clearance. Stick your spacers in the cupboard holding one of the slide rails to it in order to check your clearance before you build your shelves. That way you’ll know exactly how wide to make them.
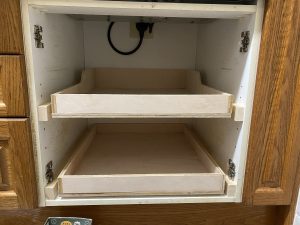
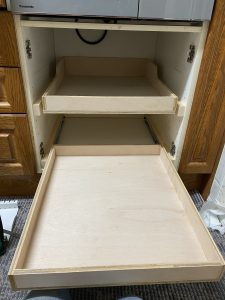
- Build your shelves. I put 5cm sides around the lower shelf and the front of the top shelf, just to keep things from sliding/falling off. On the top shelf, that goes up to 10cm to stop things from falling in the back of the cupboard.
- Install your bottom shelf first, making sure your shelf is a couple of mm off the bottom of the cupboard so it slides out smoothly. Then consider the size of the pans you are going to have on the shelves and choose the height of your top shelf. A good way to install the top shelf is by using the existing shelf pegs & holes to make sure both sides are level and at the same height.
There are plenty of other How To’s online for how to build the shelves. It shouldn’t take more than a couple of hours and you’ll have a nice, easier to use kitchen cabinet to look forward to. Not sure if the pics will help or not, but check them out and give it a go.

