
Installing SPC Flooring
Our house was imported from Canada. It was designed and sold by a Company called Selco home, which has licensed contractors throughout Japan that can import and build them for you. Back when we built our house, the exchange rate was pretty good so the price was quite a bit lower that what we were being quoted by Japanese builders, even for smaller homes. In addition, I’m not really a fan of modern Japanese construction methods. Their lack of studs throughout the wall frame and almost zero use of insulation is basically a no-go for me. Material quality for the interior was also day and night.
Selco was offering oak wood floors, solid oak cupboards in the kitchen and for the shoe closets in the entrance hall as well as oak stair banisters, and railing on the second floor hall for the atrium. It also came standard with double-paned windows, argon filled windows. Unless you wanted to basically double the cost, Japanese manufacturers were offering fake wood floors, cheap plastic kitchen cupboards, hollow doors between rooms with no insulation (which acts as soundproofing as well) in inner walls and single-pane windows.
The one potential downfall was that the second floor had to be fully carpeted. Now, at the time, I didn’t mind as I like carpeting and felt it made the bedrooms and hall more comfortable and would quiet the steps of the kids as they jumped around in their rooms. I hadn’t thought about 20 years down the road.
Well, now the carpet is definitely on its last legs. The stairs are thread bare on the bottom landing and getting to that point on the top landing. Not to mention the strings of carpet that get caught up in the vacuum, ripping a nice straight line across the hall. The area around the desk in the room to the west was just as bad. So it was time to rip it up and put something new down. Good luck finding carpeting in this country though, unless you want to really pay through the nose.
After a bit of looking, I found a rather simple but robust flooring called Click euca. It is made of a stone plastic composite so it is sturdier (and heavier) than similar looking vinyl products. In addition, you get less expansion and contraction due to temperature variations. And long-story-short, I thought I’d do a write up of the install.
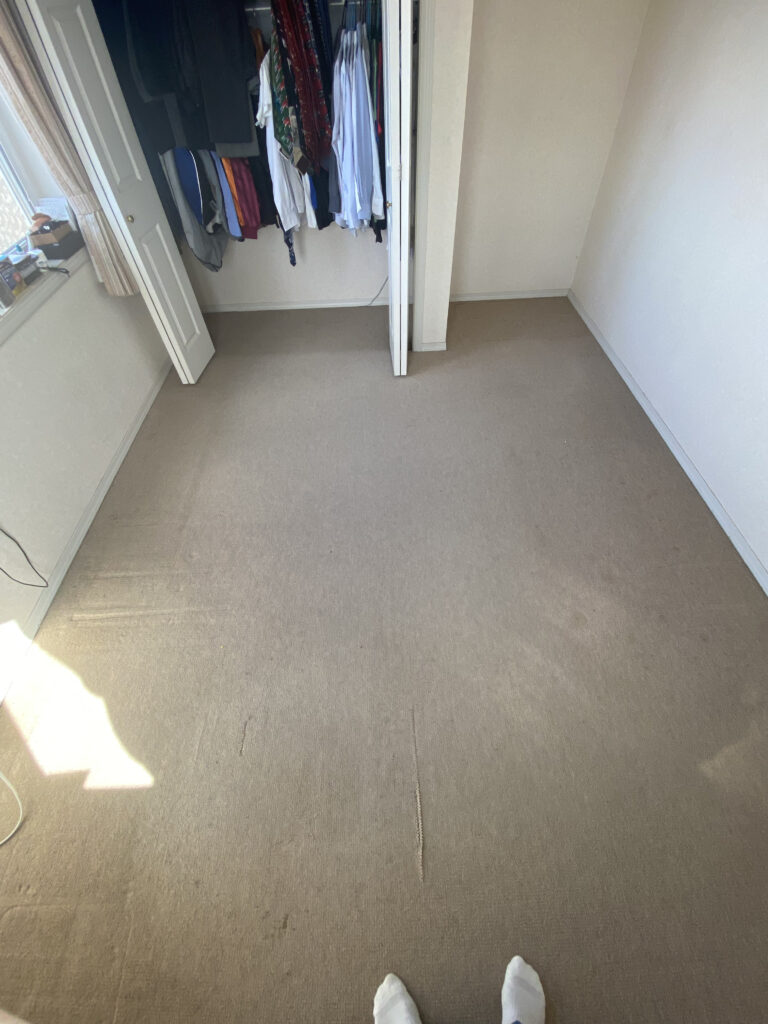
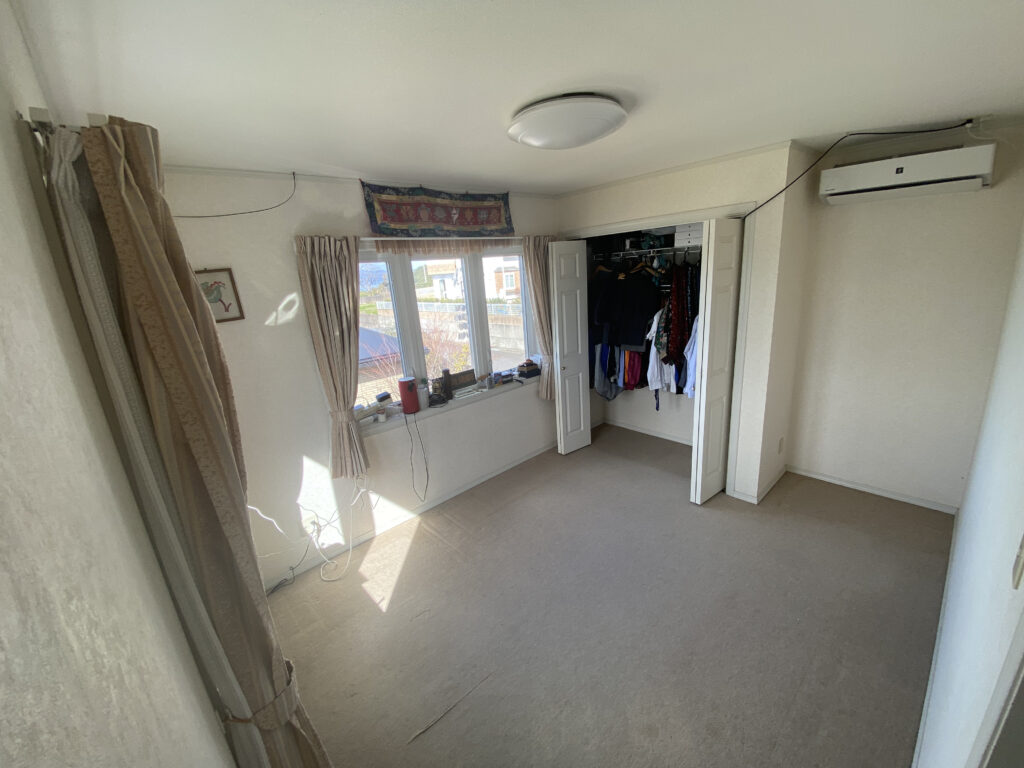
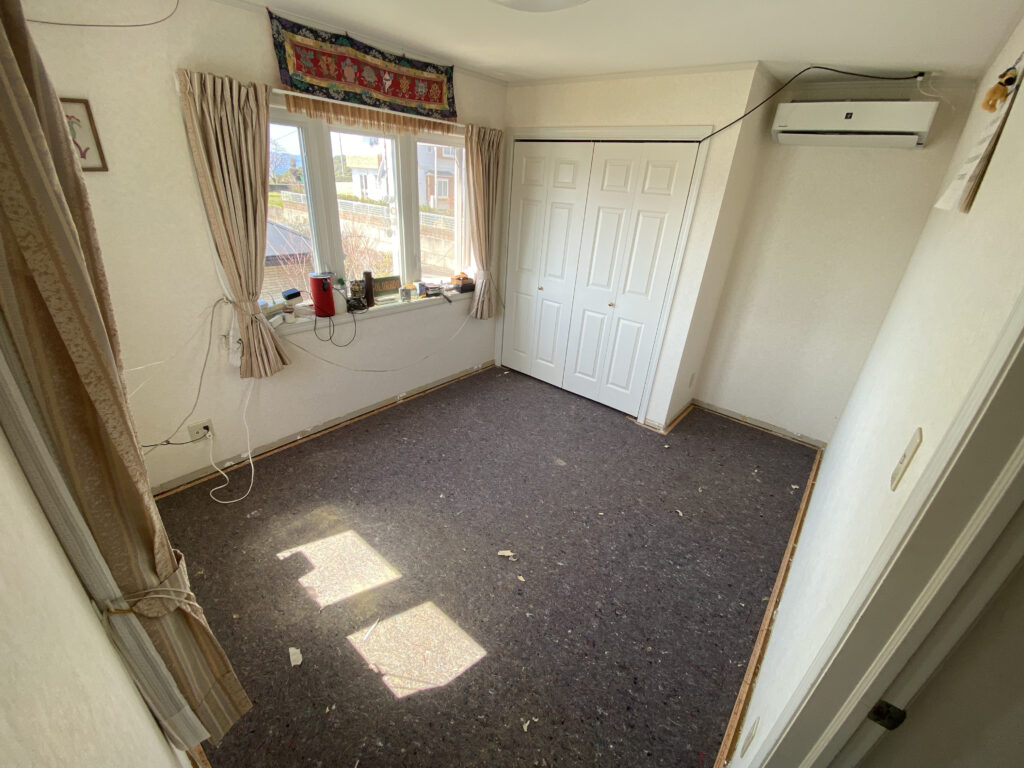
First of all, here is the room with the carpet. I’ve taken out all the furniture (obviously) so you can see the condition of the carpeting.
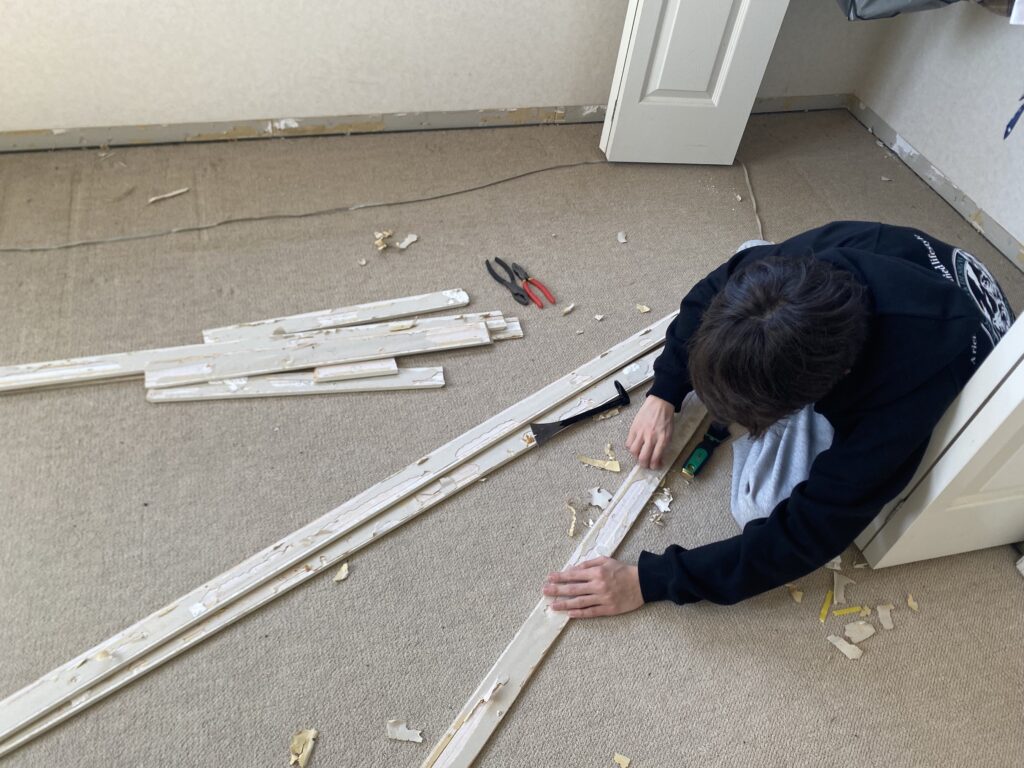
First step was to remove the baseboards (skirting). You have to cut the caulking along the top of the boards to separate them from the wall paper. Hold your utility knife at a slight angle so that you are not cutting the drywall but also not slicing the top edge off the baseboard. Then use a painters scraper and a crowbar to gently separate it from the wall. Work your way down the wall, getting gradually deeper until you can pop the it off the wall. Make sure you don’t just pry on the top of the baseboard or you can easily break it. I also used a cutter to separate any of the drywall paper that was sticking to the baseboard as I removed it.
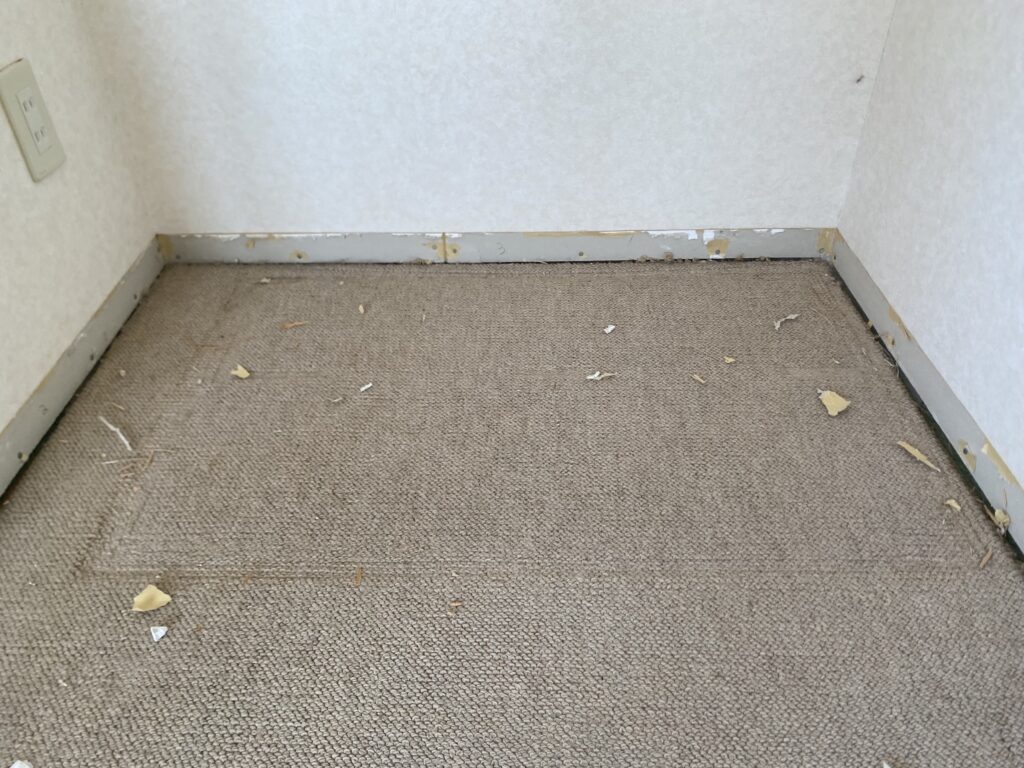
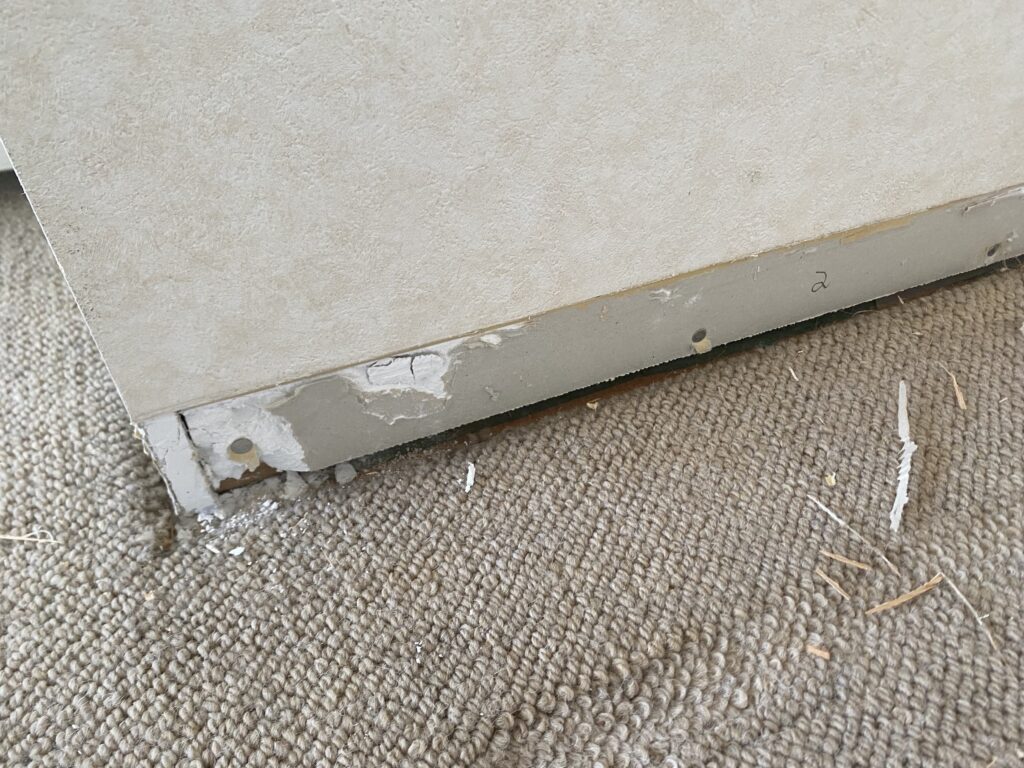
Make sure to number the baseboard and the wall so you know where to replace it. I scraped off the backside of the baseboards, washed them down then painted them and left them outside to dry.
The next step was to remove the carpet, carpet pad and carpet tack strips. I cut the carpet and carpet pad into strips wide enough to fit into garbage bags when rolled up as it is considered “burnable garbage” here.
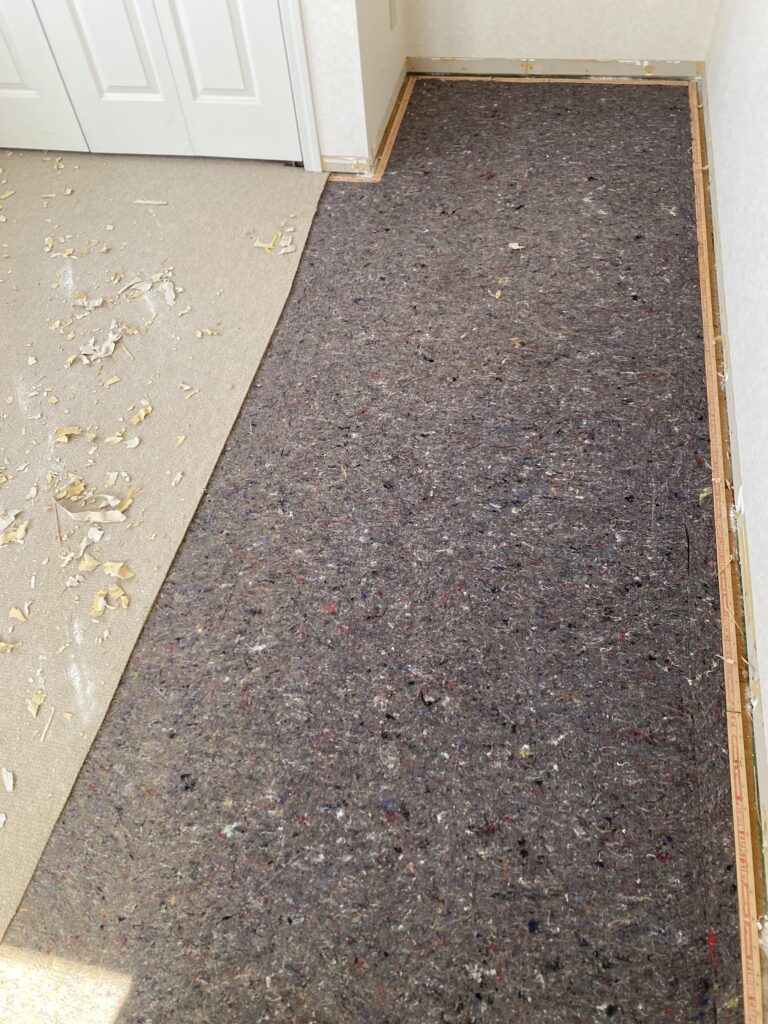
Don’t forget to remove any staples that were holding down the carpet pad.
Next, it was time to prep the surface. I first just vacuumed the plywood floor and then the gap under the dry wall and the floor. I then went over the floor, carefully looking for any uneven spots, protruding nails or random hardware (like construction staples.) There were 3 areas where there was a “bump” in the plywood or a height gap at a joint that was too big to ignore. I used an old-timey hand planer that I had in the shed to smooth them out.

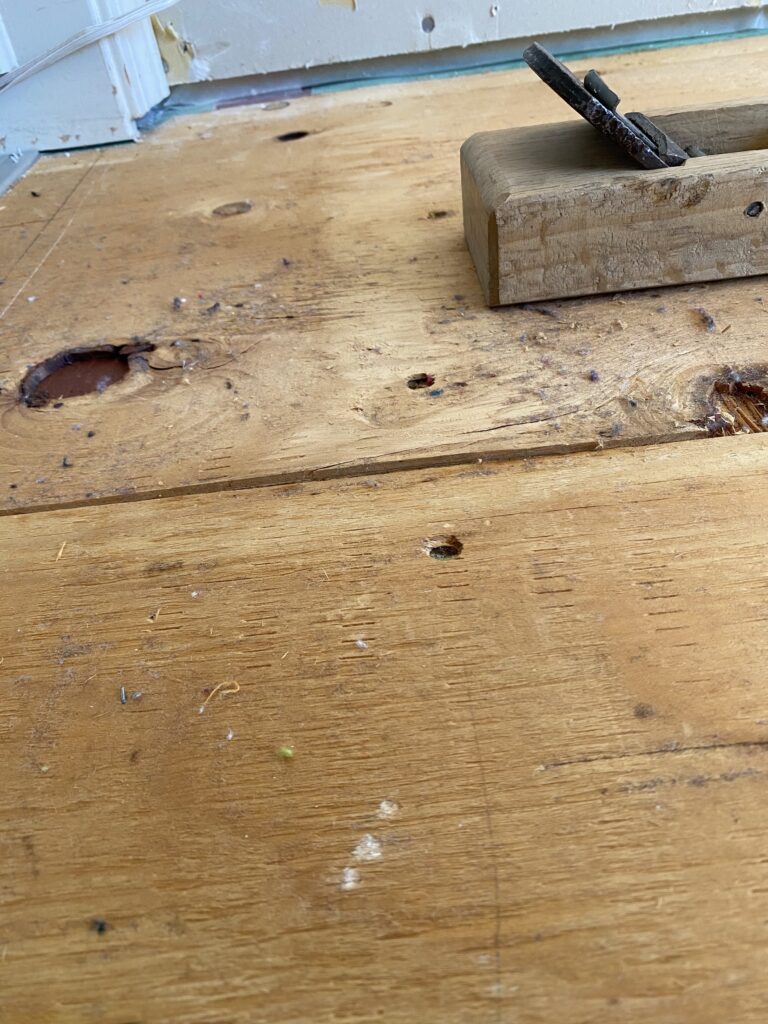
You want to make sure you clean up the floor again before you start putting down your flooring. You don’t want anything crunching under the floor every time you walk across it.
Now I was ready to start putting down the flooring. I started at the door since that was going to be the one area where I had to control the width of the flooring I was laying down. (I didn’t want to end up with a 1 or 2 cm strip right at the door.). First I cut the piece for the door. Then I cut all the panels in the first row to match the one in the doorway. Once I put in that first row, it was pretty easy. Just go from left to right, snapping the tiles into place. The hardest part was not repeating the pattern in any obvious way. You need to open up a couple boxes of product and sort them out by design so you can try to make it seem as random as possible. I ended up with an inordinate number of one annoying knot hole pattern, so the floor in the closet is kind of funny if you look closely!
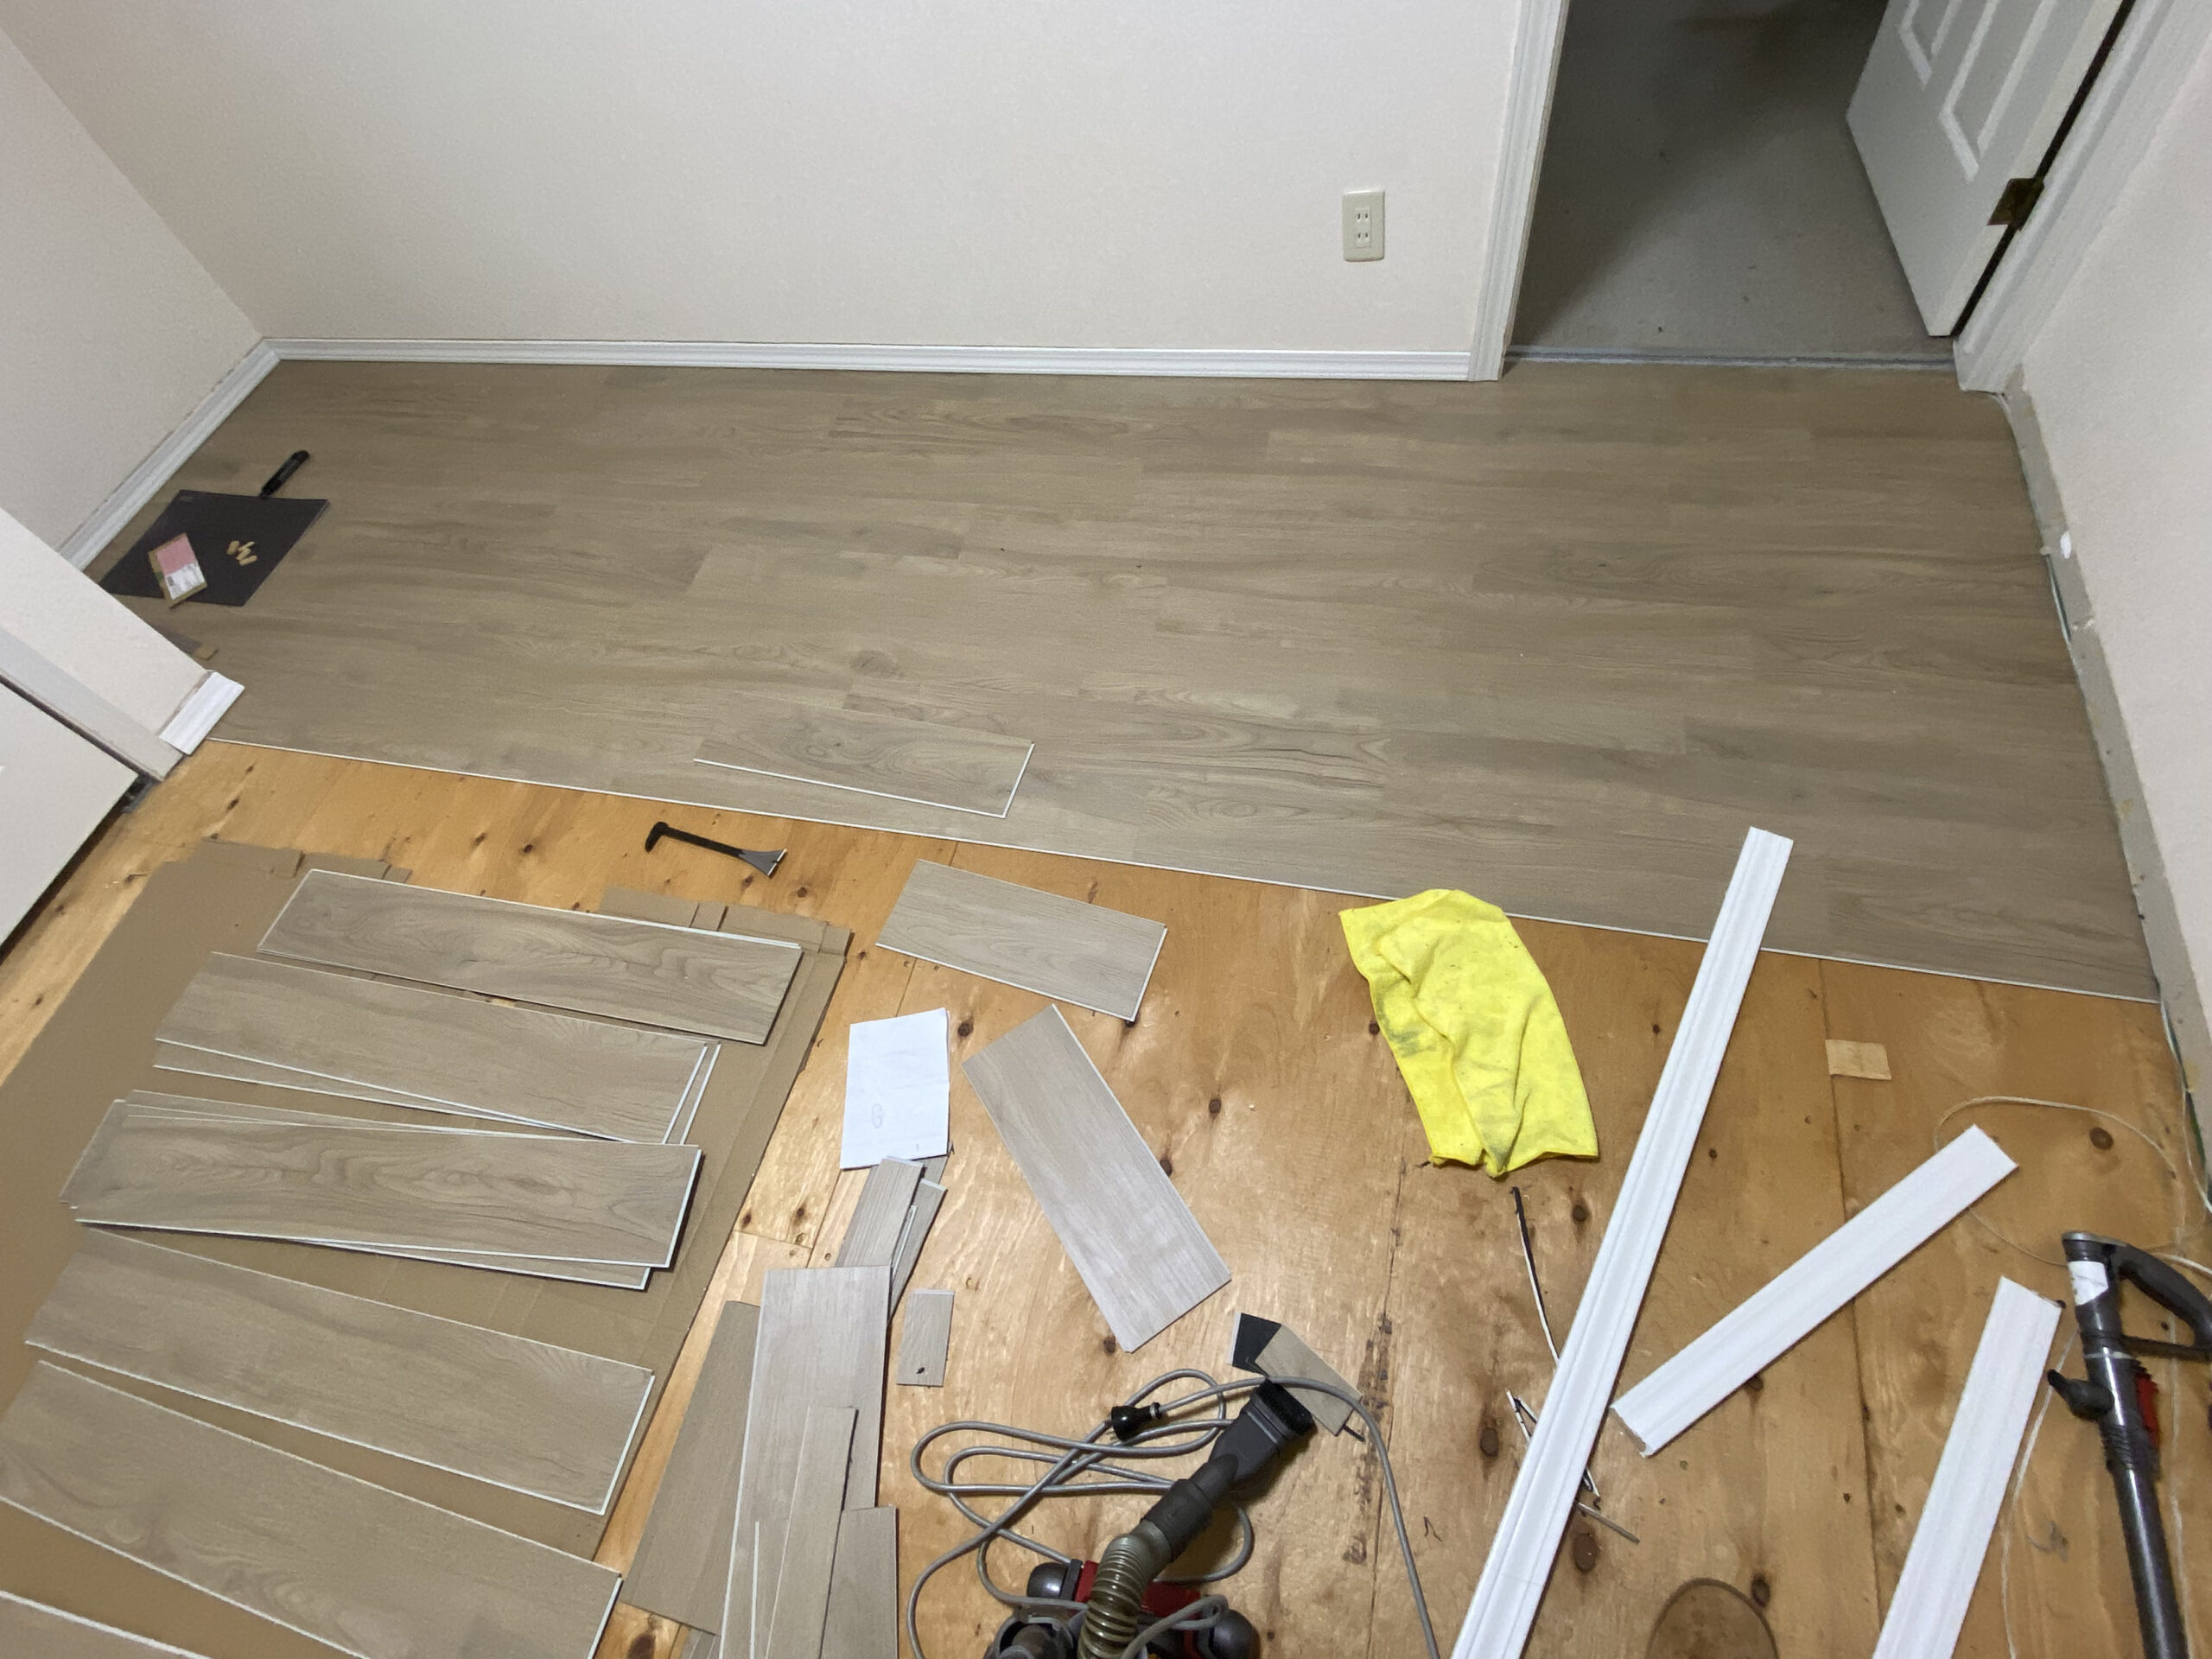
Here’s what it looked like about a third of the way done. For the closet door, I had to cut the shape of the hardware holding the door as well as the shape of the wall. Not too hard once you get the hang of it. Remember to keep a gap of a few millimeters between the walls and the flooring for expansion and contraction. I used some small pieces of wood to give myself a 1cm gap between the wall framing and the flooring, so this brought them just even with the drywall.
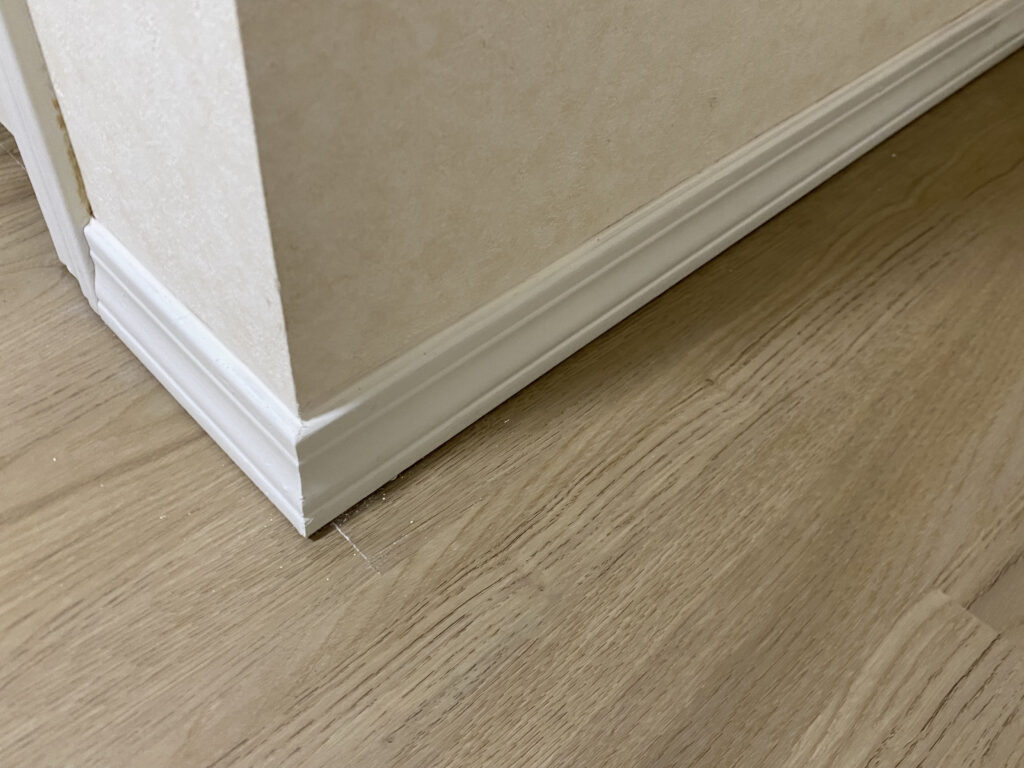
Once you get all the flooring in, it’s time to replace the baseboards. Since my carpet was a good centimeter thick and the flooring is only 5mm, there would be a significant gap at the bottom of the baseboards if I replaced them in the original position. Instead, I used a plastic ruler to give me a consistent gap of about 2mm. Then I put a nice bead of calk around the top to hide the seam of the wallpaper.
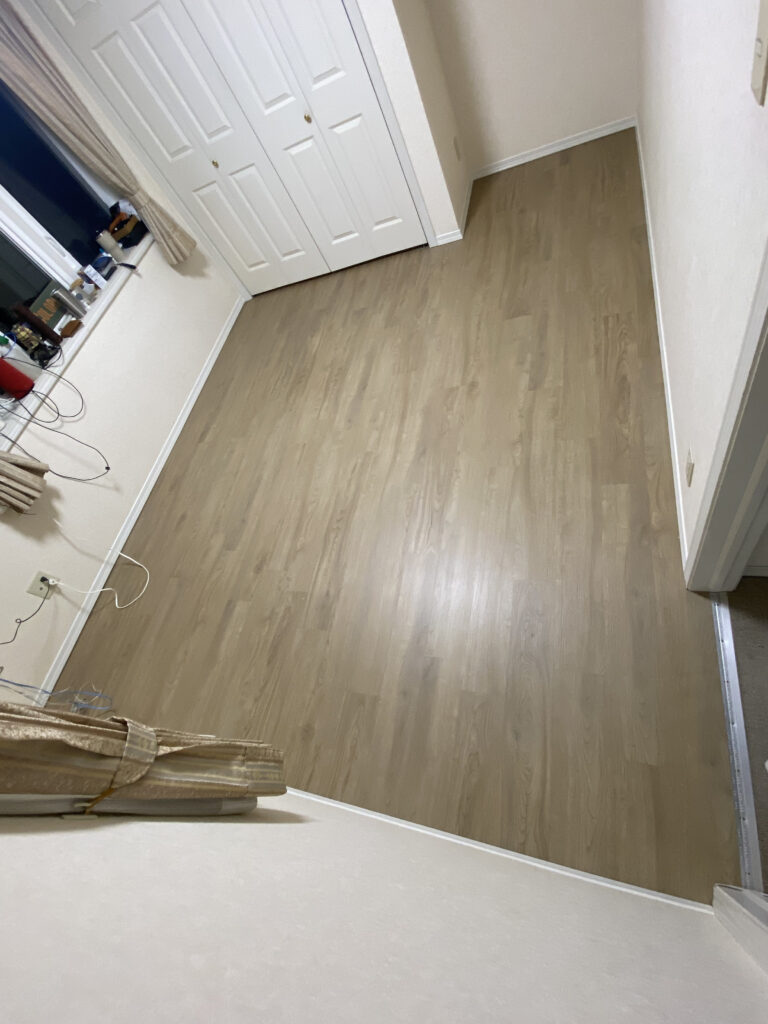
All-in-all, I am happy with the install. It took longer than I thought it would, but it also went smoother than I expected. For this 12 square meter room, including moving the furniture in and out, it took about 20 hours of work from start to finish. I ordered 12 boxes @ 1.12 square meters per box and ended up with about a box and a half of leftover material. (I hope to use the same color in the master bedroom.)
Next will be the second floor hall. Again, it’s about 12 square meters, but has 5 doorways, a diagonal wall and a set of stairs. Once I figure out how I’m going to redo the carpet on the stairs, I’ll get to work on that as well.